Hey everyone, it is Drew, welcome to our recipe site. Today, I will show you a way to prepare a distinctive dish, can in the rear roast chicken. It is one of my favorites. For mine, I am going to make it a bit tasty. This will be really delicious.
Learning to roast a chicken has a promise beyond what most recipes deliver. Yes, a chicken will become dinner, leftover lunch, and hopefully soup Mastering a simple roast chicken also teaches kitchen confidence and patience, which the greatest cooks understand. For a recipe much lauded and.
Can in the Rear Roast Chicken is one of the most favored of recent trending meals in the world. It is easy, it’s fast, it tastes delicious. It is appreciated by millions every day. Can in the Rear Roast Chicken is something that I’ve loved my whole life. They’re fine and they look fantastic.
To begin with this particular recipe, we must prepare a few components. You can cook can in the rear roast chicken using 7 ingredients and 10 steps. Here is how you cook that.
The ingredients needed to make Can in the Rear Roast Chicken:
- Get 1 whole chicken about 5lbs
- Take 1 lemon
- Get 1 small onion
- Take 2 clove garlic
- Make ready 1 empty aluminum can 12-16oz cleaned
- Take 4 tbsp melted butter or olive oil
- Make ready 1/2 cup water
The other day I was at the grocery store (I go almost every day), and the lady at the I know it can seem daunting at first, but roast chicken is really easy to prepare and it makes a lot of food. And, unlike chicken breasts, when you. Chicken needs to rest after cooking in the same way as beef, lamb and pork, to allow the juices to settle back into the meat. The rest of the sides can finish cooking and you can make the gravy - don't forget to add in the flavoursome juices.
Steps to make Can in the Rear Roast Chicken:
- Brine chicken (see my poultry brine recipe.) Rinse chicken and pat dry. Make sure to remove chicken insides!
- Wash and rinse your can. I find a 16oz works best and carefully enlarge the opening
- Chop lemon, onion into pieces that will fit in can.
- Crush garlic and add to can.
- Add water to fill can 3/4 full and place in baking dish
- Place chicken on top of can with legs down. This will support chicken while cooking and ingredients will infuse flavor.
- Brush bird with melted butter or olive oil. I don't add any other seasonings because if you brine first you don't need to. If you didn't brine (which I highly suggest brining) you would want to season with salt, pepper ect.
- Bake for 35-40 min; remove and baste again. Return to oven and bake another 35-40min or until meat therm reaches 165
- If roasting veggies add them before you put the bird in for the second time.
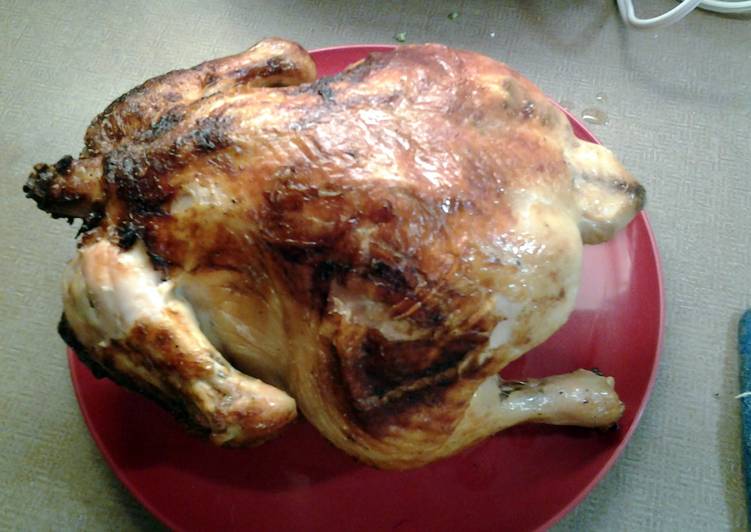
- Remove from oven and carefully remove can and place bird on serving plate. Cover loosely with foil and let rest 10-15min before carving.
Chicken is one of the most popular roasts - it's easy to cook, but if you don't know what to do with the leftovers, they can end up going to waste. Roasting chicken on a beer can means you'll end up with ~crispy skin on all sides.~ This will help it stay stable in the pan. Ah, the humble roast chicken - a classic Sunday roast favourite and an all-round crowd pleaser. It's all about crispy, golden skin and tender, succulent meat (served with all the trimmings, of course). And if you've got any leftovers, you can keep them in the fridge to rustle up some speedy weeknight meals. 'I always poach my chickens before roasting,' he says. 'This results in a tastier bird and, although it sounds more complex, it actually shortens the overall A solution could be found in Jamie Oliver's beer butt chicken, a new-fangled US style.
So that’s going to wrap it up with this special food can in the rear roast chicken recipe. Thanks so much for reading. I am sure that you will make this at home. There is gonna be more interesting food at home recipes coming up. Remember to save this page in your browser, and share it to your family, friends and colleague. Thank you for reading. Go on get cooking!